1. Creating the Projects Page
- Go to Tags → New Tag.
- Set the Name to Projects.
- Set the Slug to
projects. - Click Save.
site.com/projects
2. Publishing a Project Post
- Add only the project tag to the post
(Do not include products, podcasts, or readings tags.) - In Post Settings → Template, select Post Project.
- Upload a 3:2 horizontal feature image.
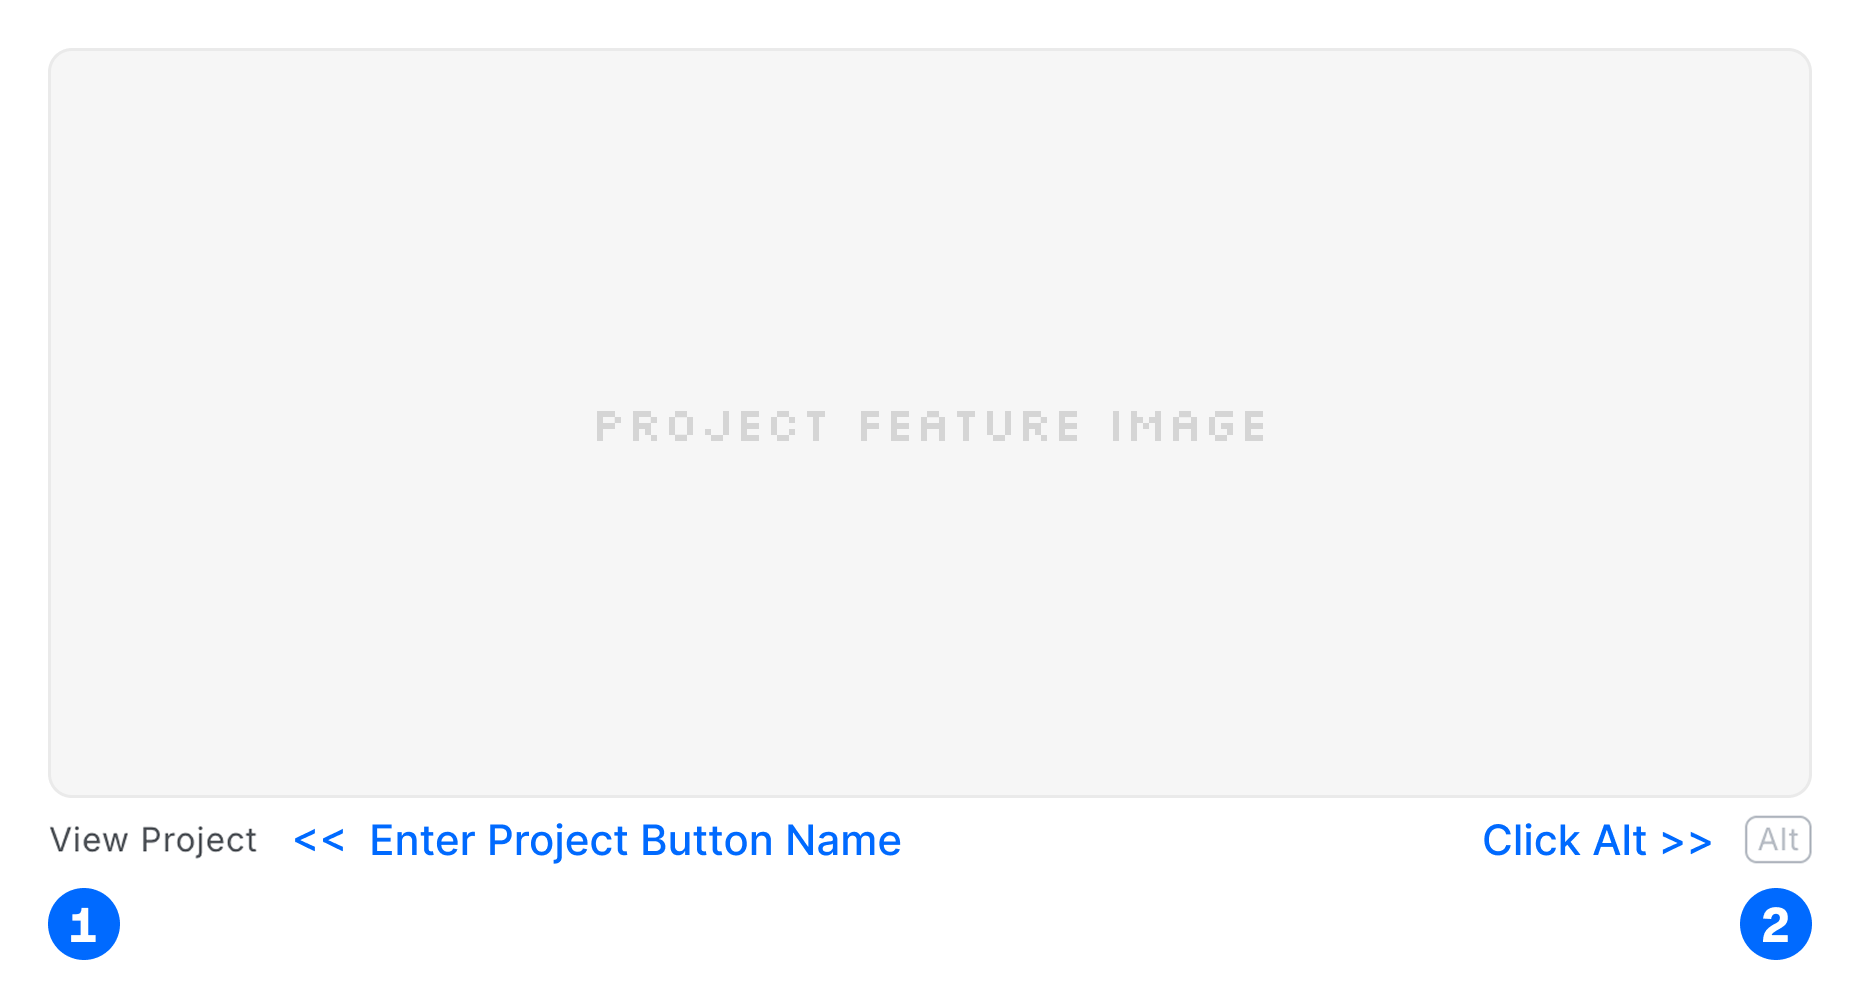
- In Feature Image Caption, enter your button text
Example: View Project - Click the Alt badge on the feature image and add the project URL.
- Publish the post.
3. Feature Image Requirements
Projects use a wide horizontal (3:2) layout that stretches across the screen.To ensure perfect alignment and clean composition:
Required aspect ratio: 3:2 (horizontal)
Examples:- 1500×1000
- 1800×1200
Use high-quality landscape images
- Avoid vertical or square images
- Avoid transparent PNGs
4. Adding the “View Project” Button
Skalven uses the Ghost Feature Image Caption and Feature Image Alt fields to generate a customizable button beneath the project image.- Enter the project button name in Feature Image Caption.
- Click the Alt badge and add the project button URL in Feature Image Alt.
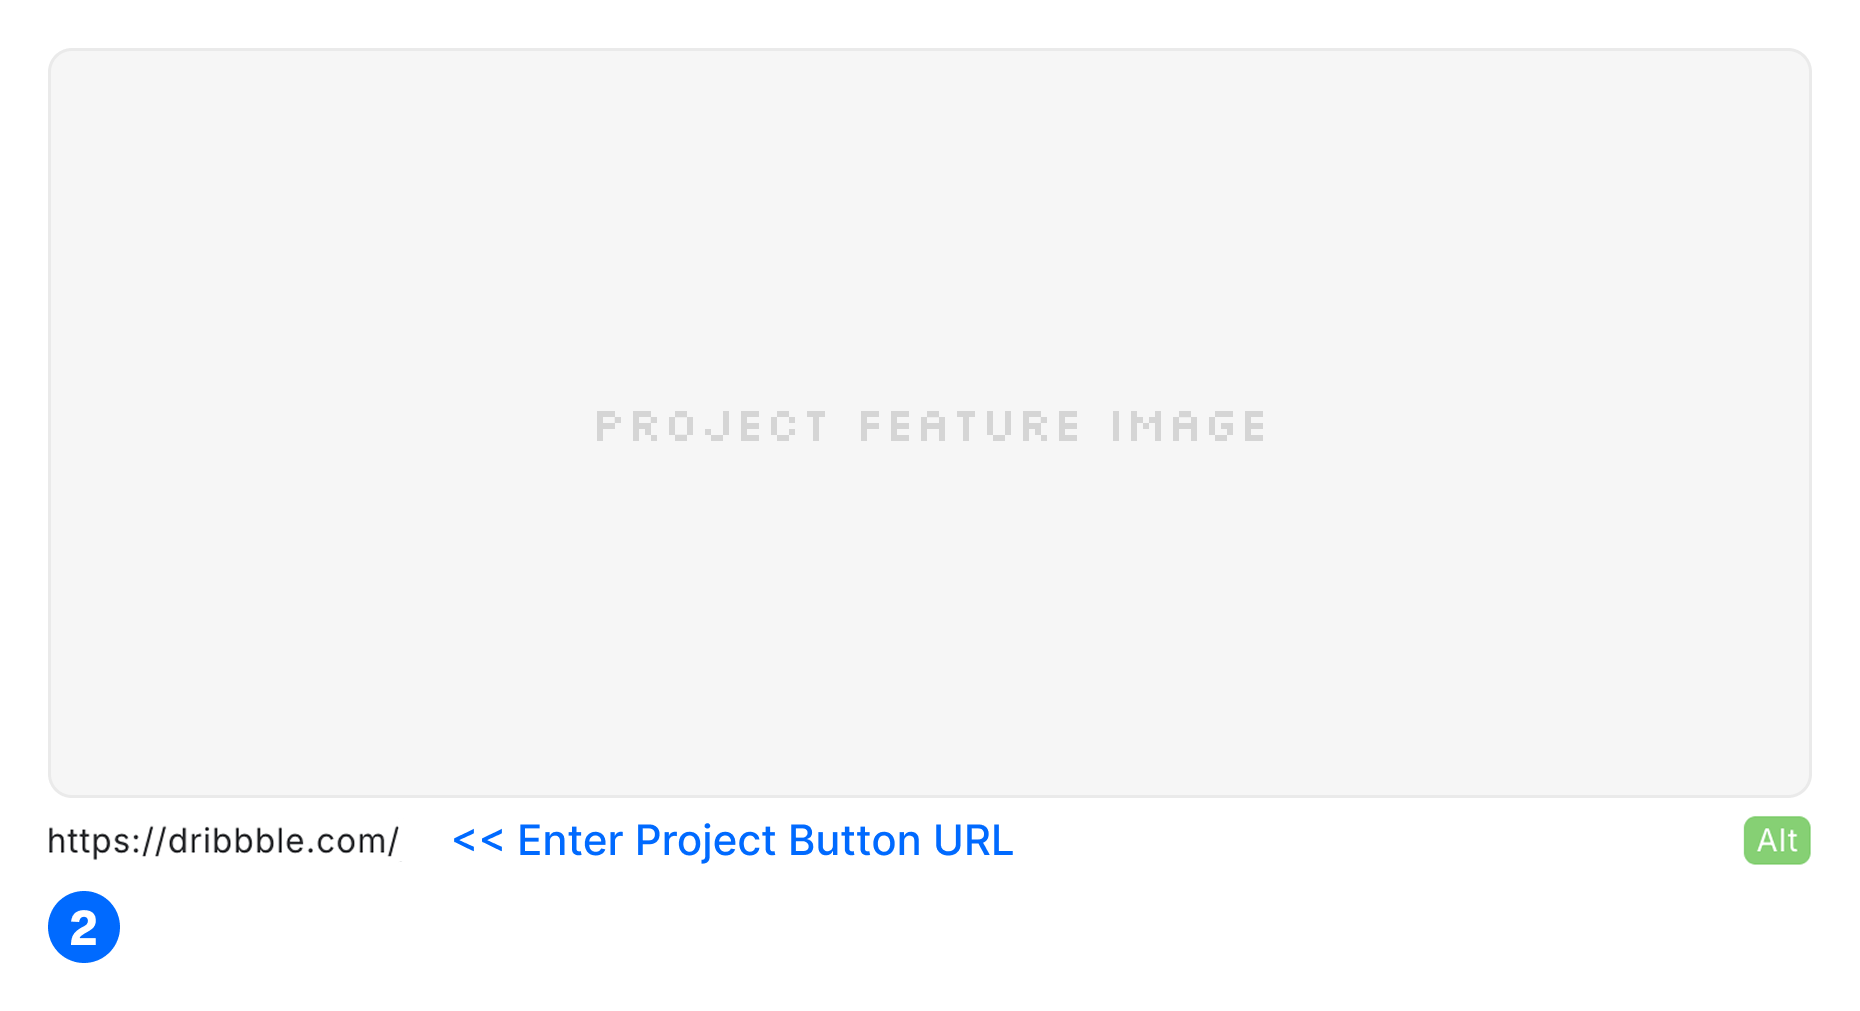
- All set! You can now see the button on your project detail page.